January 16 2018 – Lindsey Neill

Vegas Wedding Quilt Tips & Tricks - Part 2
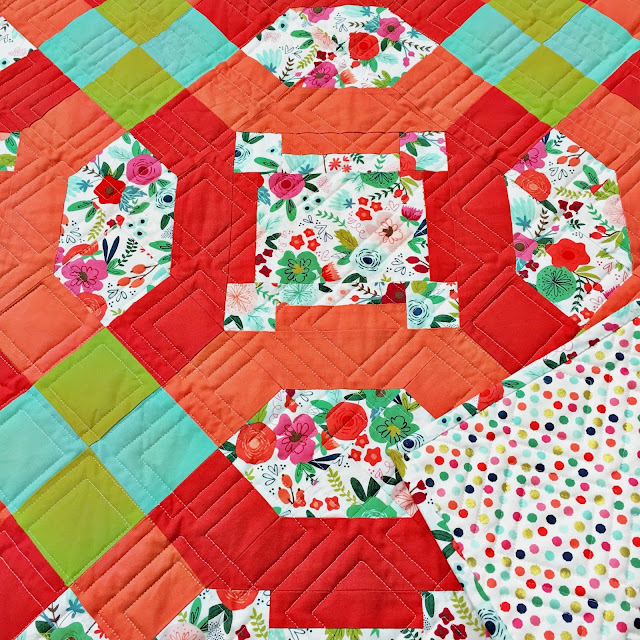
First up are photos of my mom's (@gailzerbe on Instagram) fun & vibrant Vegas Wedding quilt! Love, love, love her floral background! I'm not biased or anything, right??
Next is my friend, Meghan of Then Came June! The colors she chose are so dreamy and a perfect fit for this quilt!
And last but not least is Joanne's finished Vegas Wedding quilt top! Joanne did a beautiful job and was such a big help in getting this pattern perfected for you all!
In this week's post, I will be breaking down the second step of Block Two in a lot more detail! Block Two a little trickier to make than Block One, but if you follow the instructions in the pattern exactly and use the tips I share here, then it should come together pretty quickly!
The most difficult part of this block is sewing Piece K and the Block Two template piece together. It is SUPER important that the seam allowance intersects where the two edges of these pieces meet. If it doesn't then the two angled edges of this unit will be jagged instead of smooth and straight. Example of how this unit should look when it's finished below....
If you find these type of units difficult to make or haven't made one before, then I recommend utilizing the tips below to make it go as smoothly as possible...
Using a small ruler, make two tiny marks (within the seam allowance) that are 1/4" away from the top edge of the Block Two template piece with the right side facing up (Do this in conjunction with making a center crease as suggested in the pattern).
Now, layer Piece K and the Block Two template piece right sides together and using pins or glue (more about glue basting below), align the two pieces together so that two angled edges of Piece K intersects with the pencil markings on the Block Two template piece. Also make sure to line up the center crease. Pin or glue those edges in place.
If you are having issues with the seam allowance intersecting between those two points even after following the steps above, I recommend using some washable glue (I use Elmer's with a glue tip from Pile O' Fabric) to hold those two pieces in place. The glue helps to prevent ANY shifting while you sew. And you don't need a ton of glue to hold them together either. I like to place three small dots, exactly where I would have pinned the pieces together, and then either let the unit air dry as I glue the remaining sets together or heat set it with a dry (aka no steam), hot iron.
Since Piece K has a bias edge, you can also manipulate it slightly to making it larger or smaller so it fits with the Block Two template piece perfectly. Don't worry if you need to stretch Piece K slightly or vice versa to make it work! This will not effect the outcome of your block later on.
If your background fabric is darker than your ring fabrics, like in my sample above, you will want to press your seam allowance toward the background fabric for this unit and NOT piece K. You will need to trim the dog ears (pictured in the bottom unit of the photo below) on this unit before sewing the rest of the block together.
Follow the remaining instructions in the pattern to complete this block.
I hope these tips help while making Block Two! If you have any questions while making it, please email me at PenAndPaperPatterns@gmail.com! I'm happy to help!
Next week I will be sharing tips for making Block Three - which should be easy after you've mastered Block Two :) See ya next week!
Tagged:


0 comments